ScR4tCh
DIODER Hack – cheap wireless LED controlling
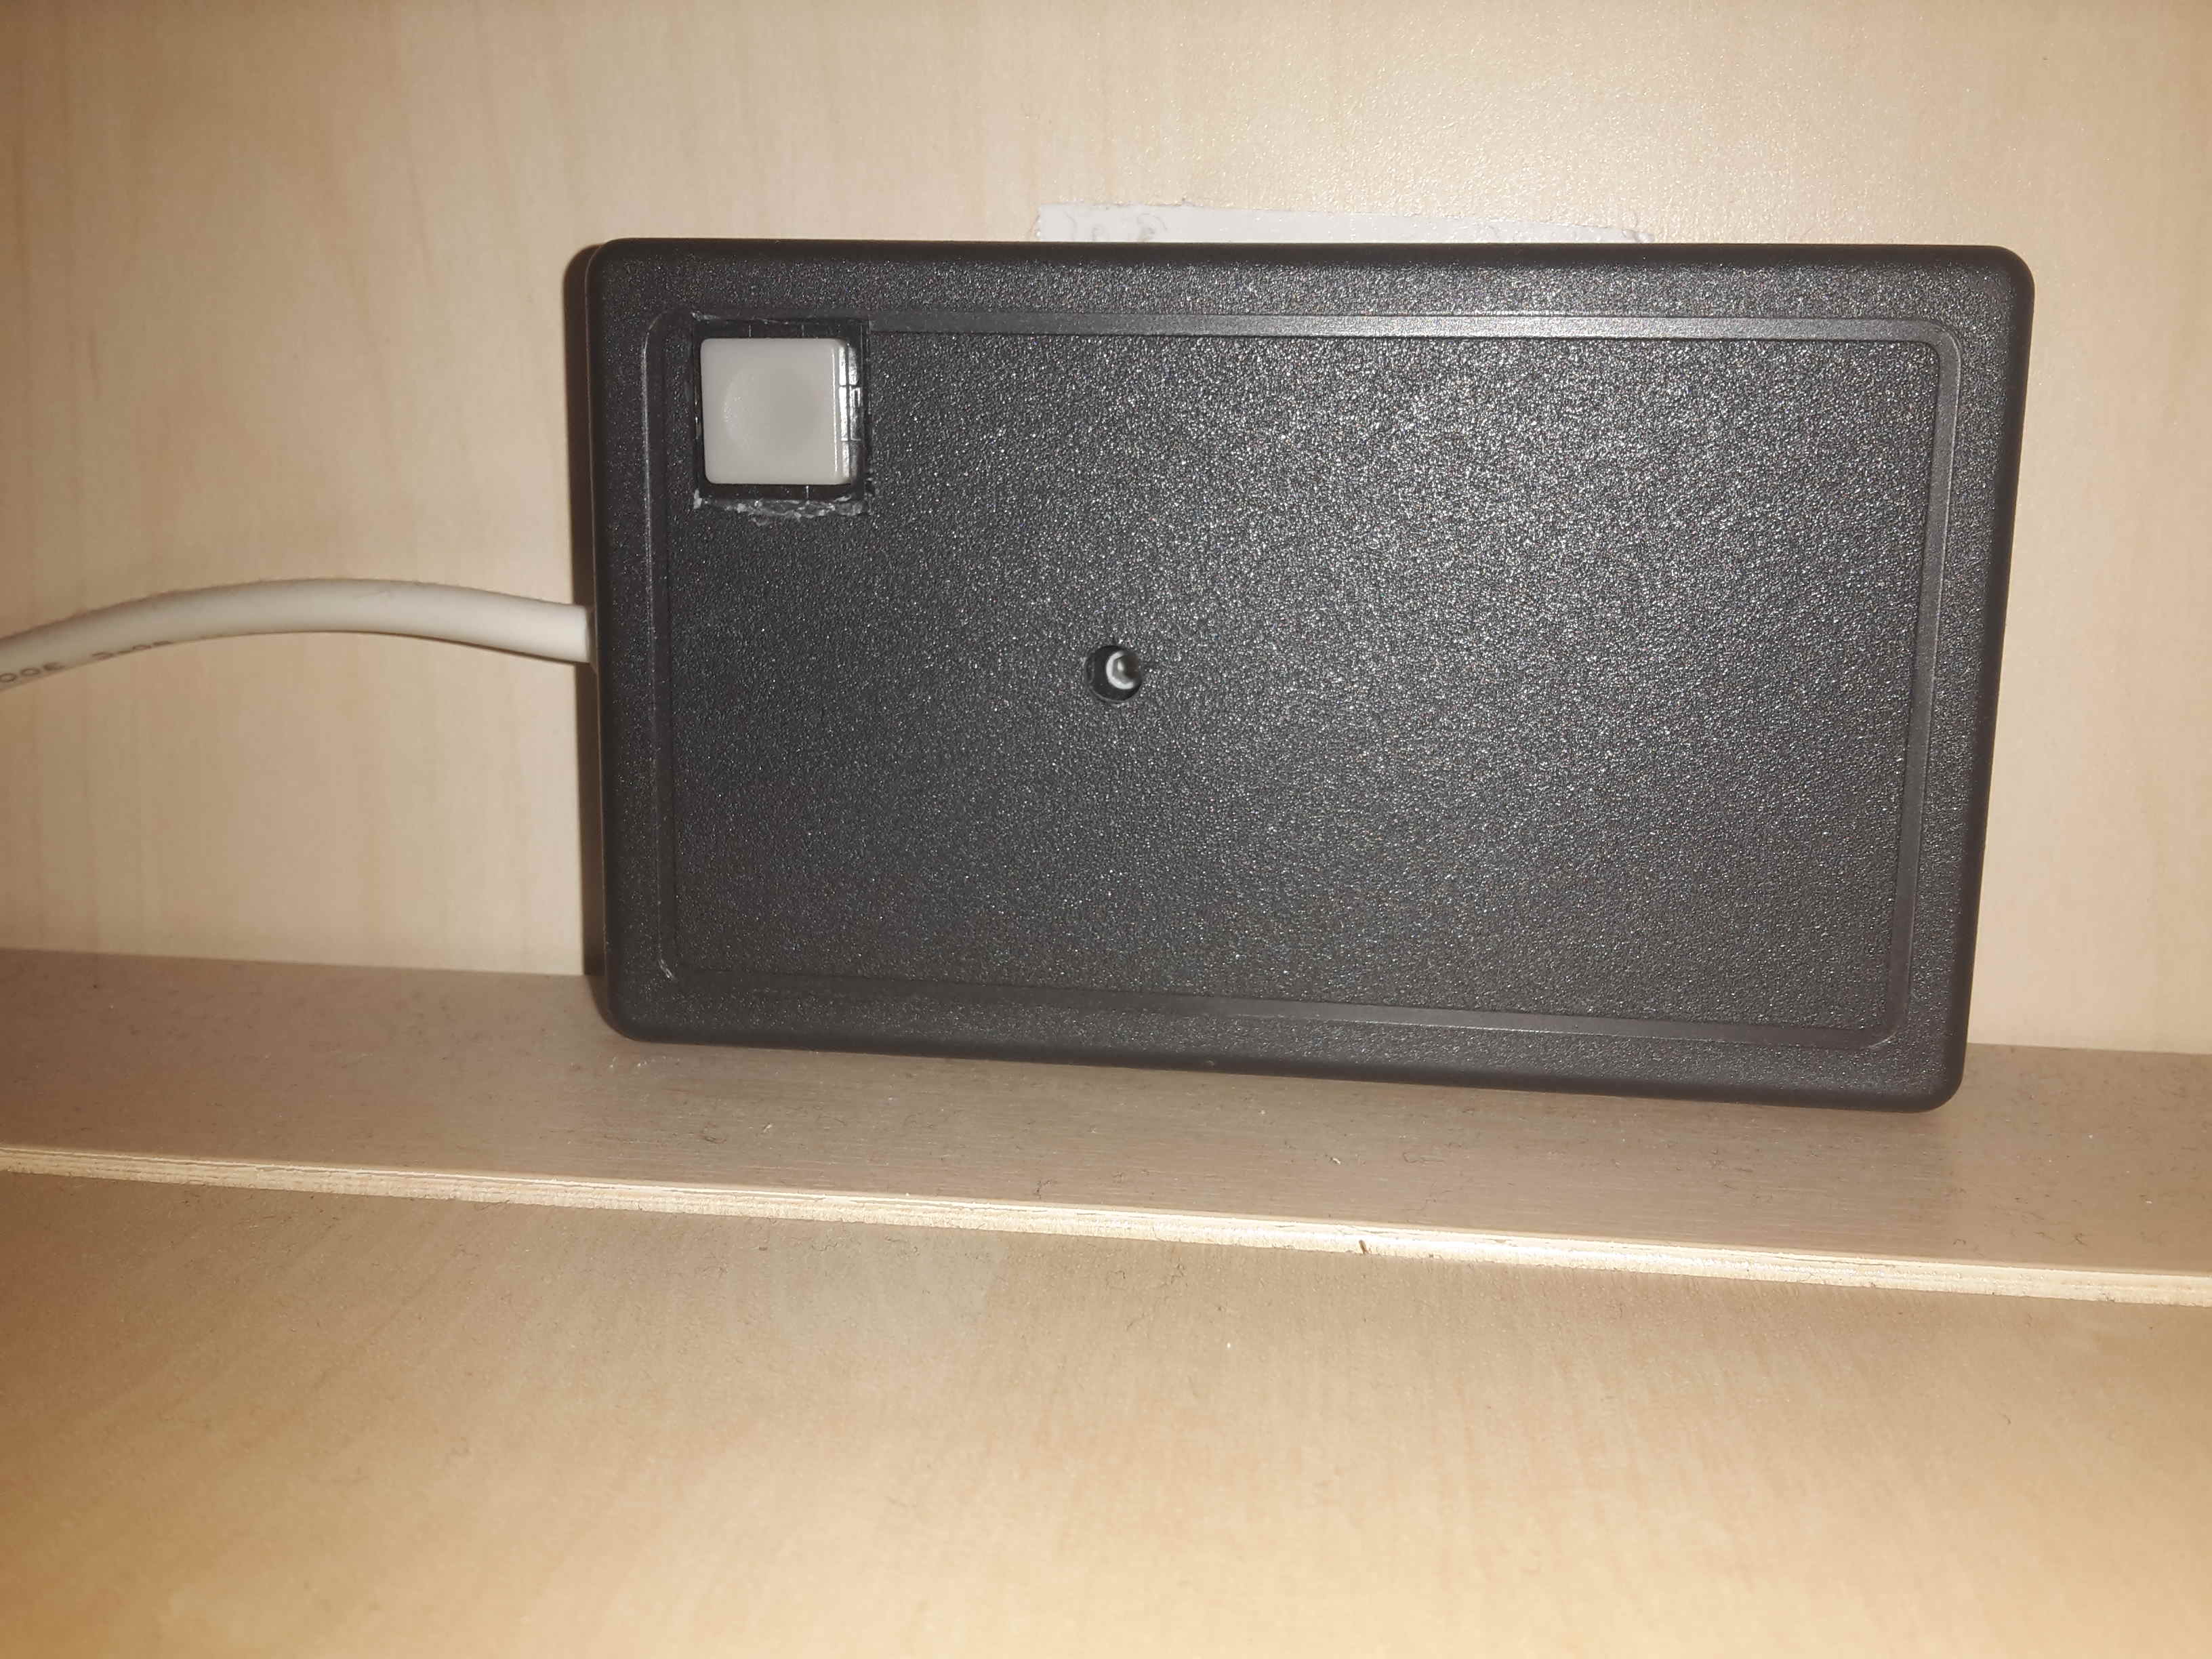
I decided to buy an IKEA-Dioder, but how boring is it to use the manual controls … wired manual controls … . As part of my little homectrl project I decided to “link” it (make it controlable wirelessly, using homectrl)!
Luckily there are dozens of “lunatics” out there, who already did similar things with this neat light. Just ask google.
I found the following guide to get my dioder controllable over the air with simple 433mHz RF.
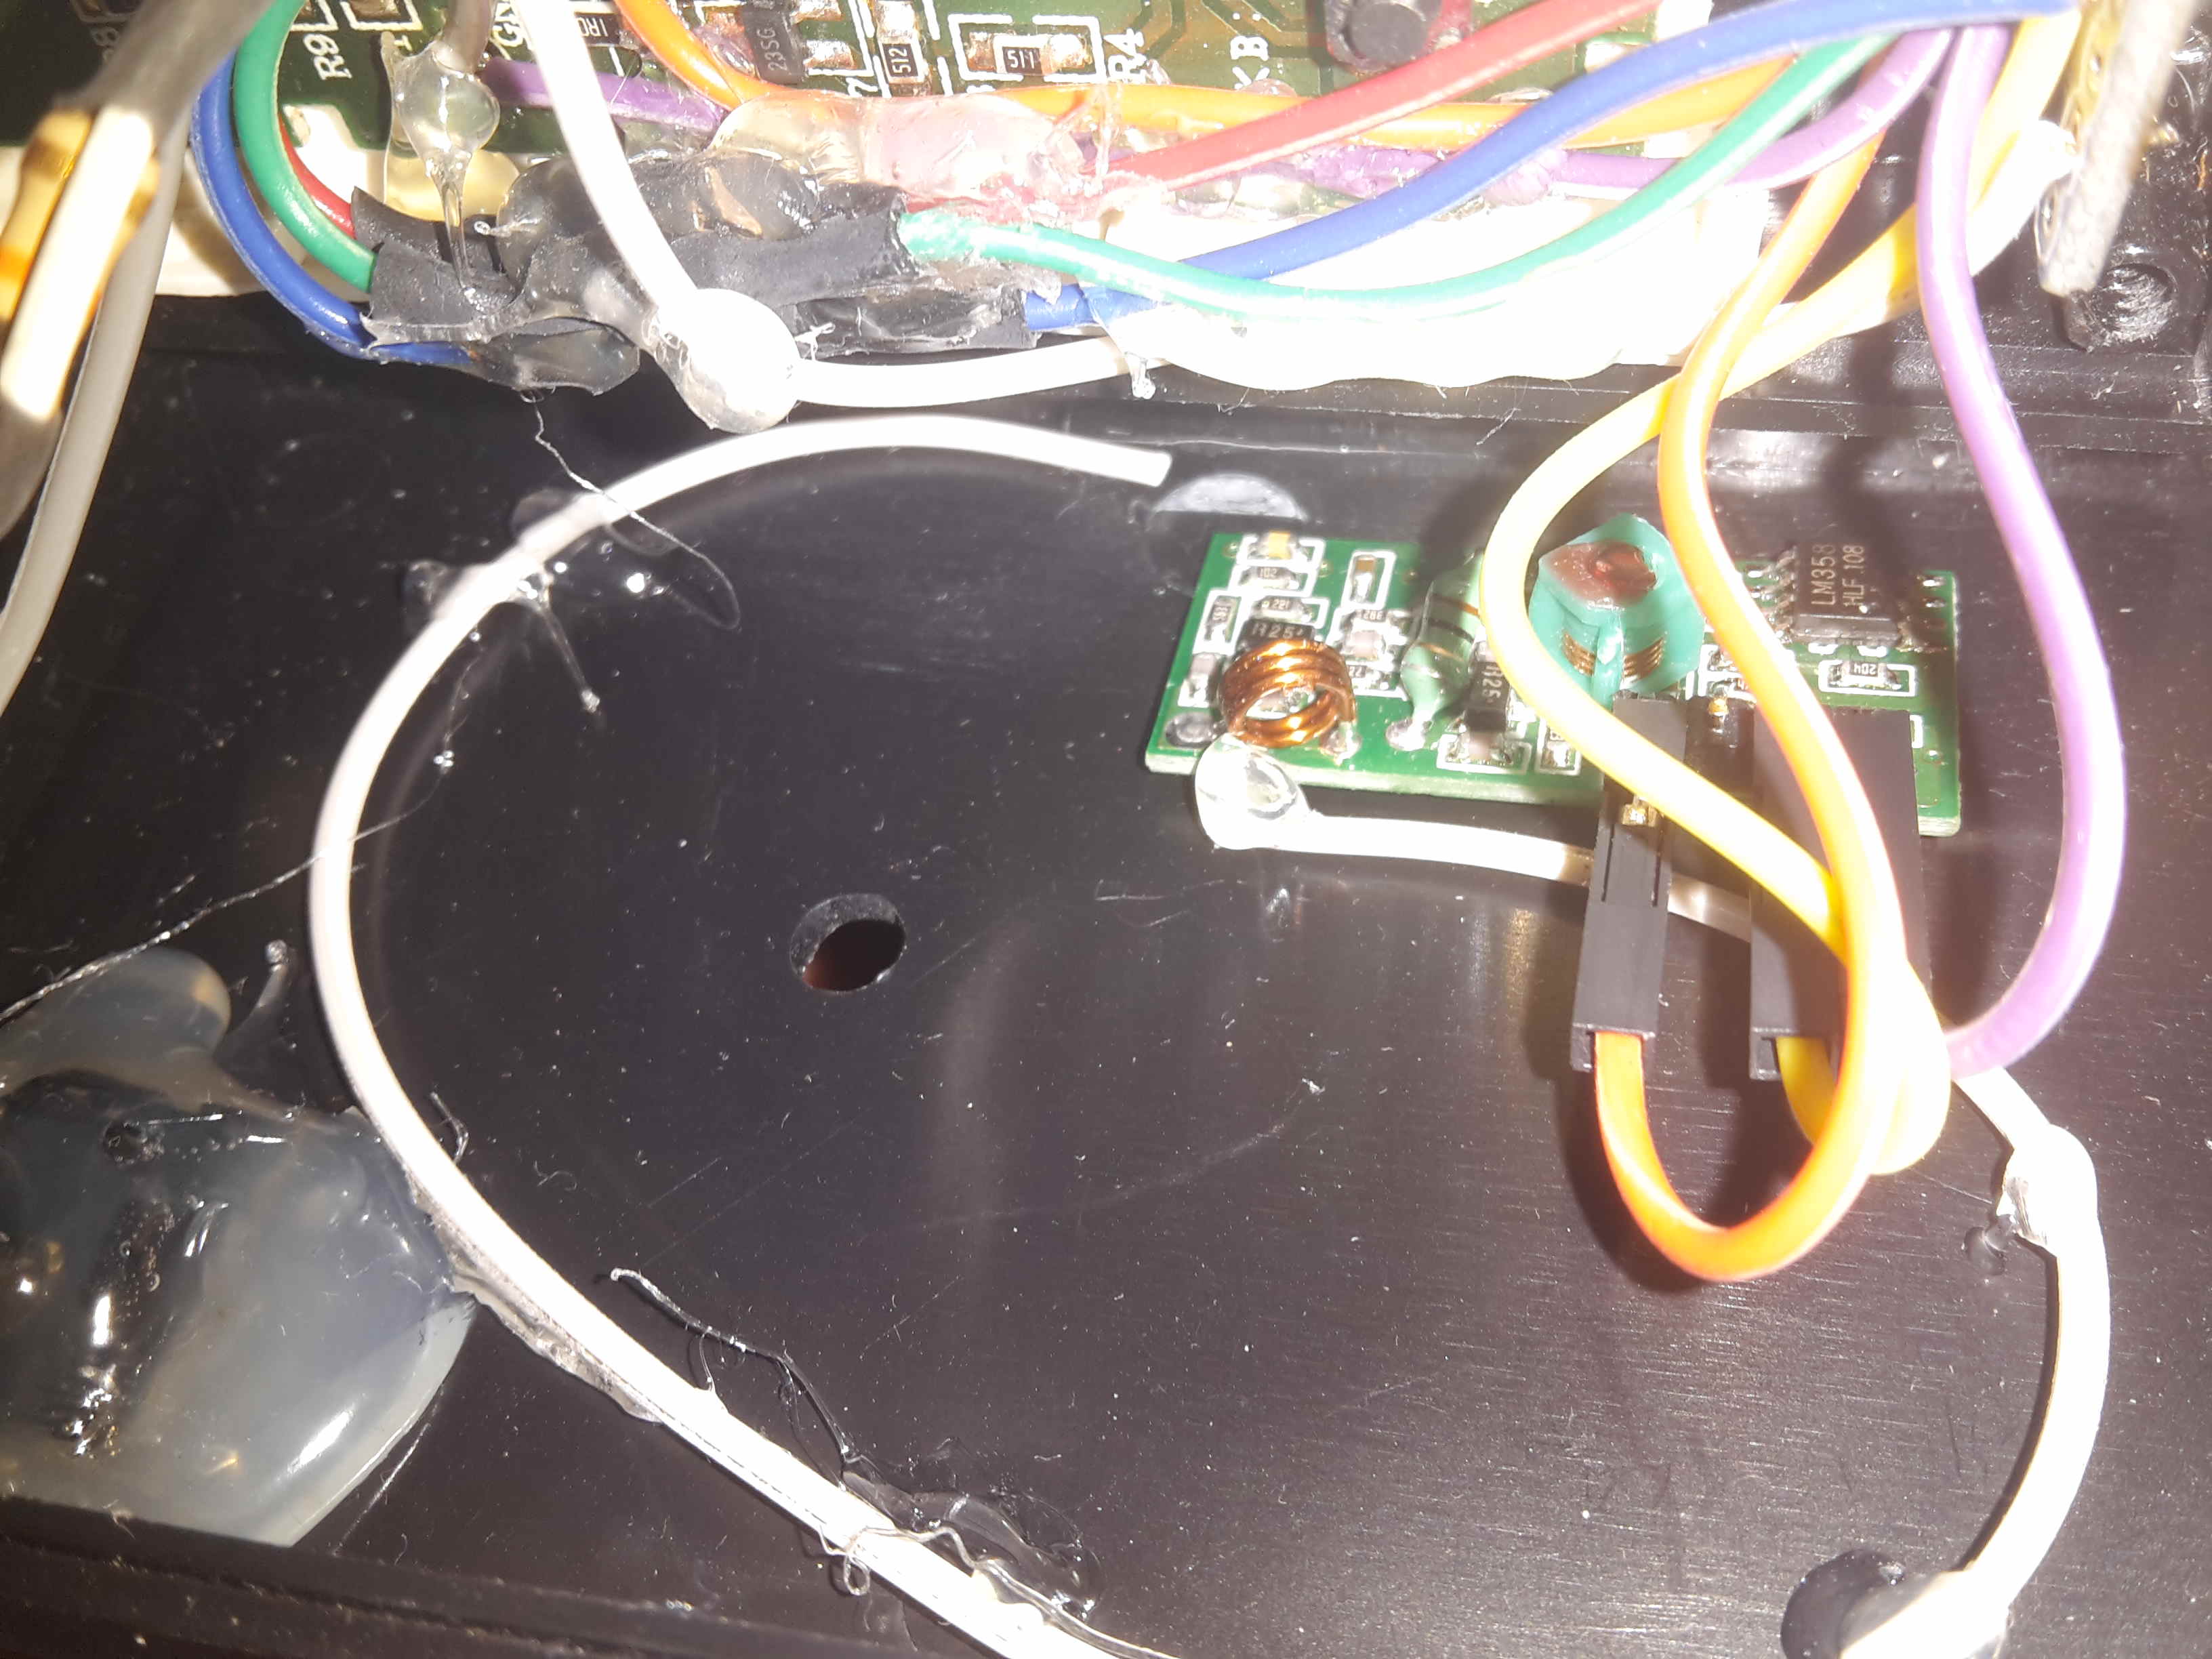
But it wasn't that easy, as it transpired that my DIODER-control-box was another (yet newer) hardware-revision featuring another IC.
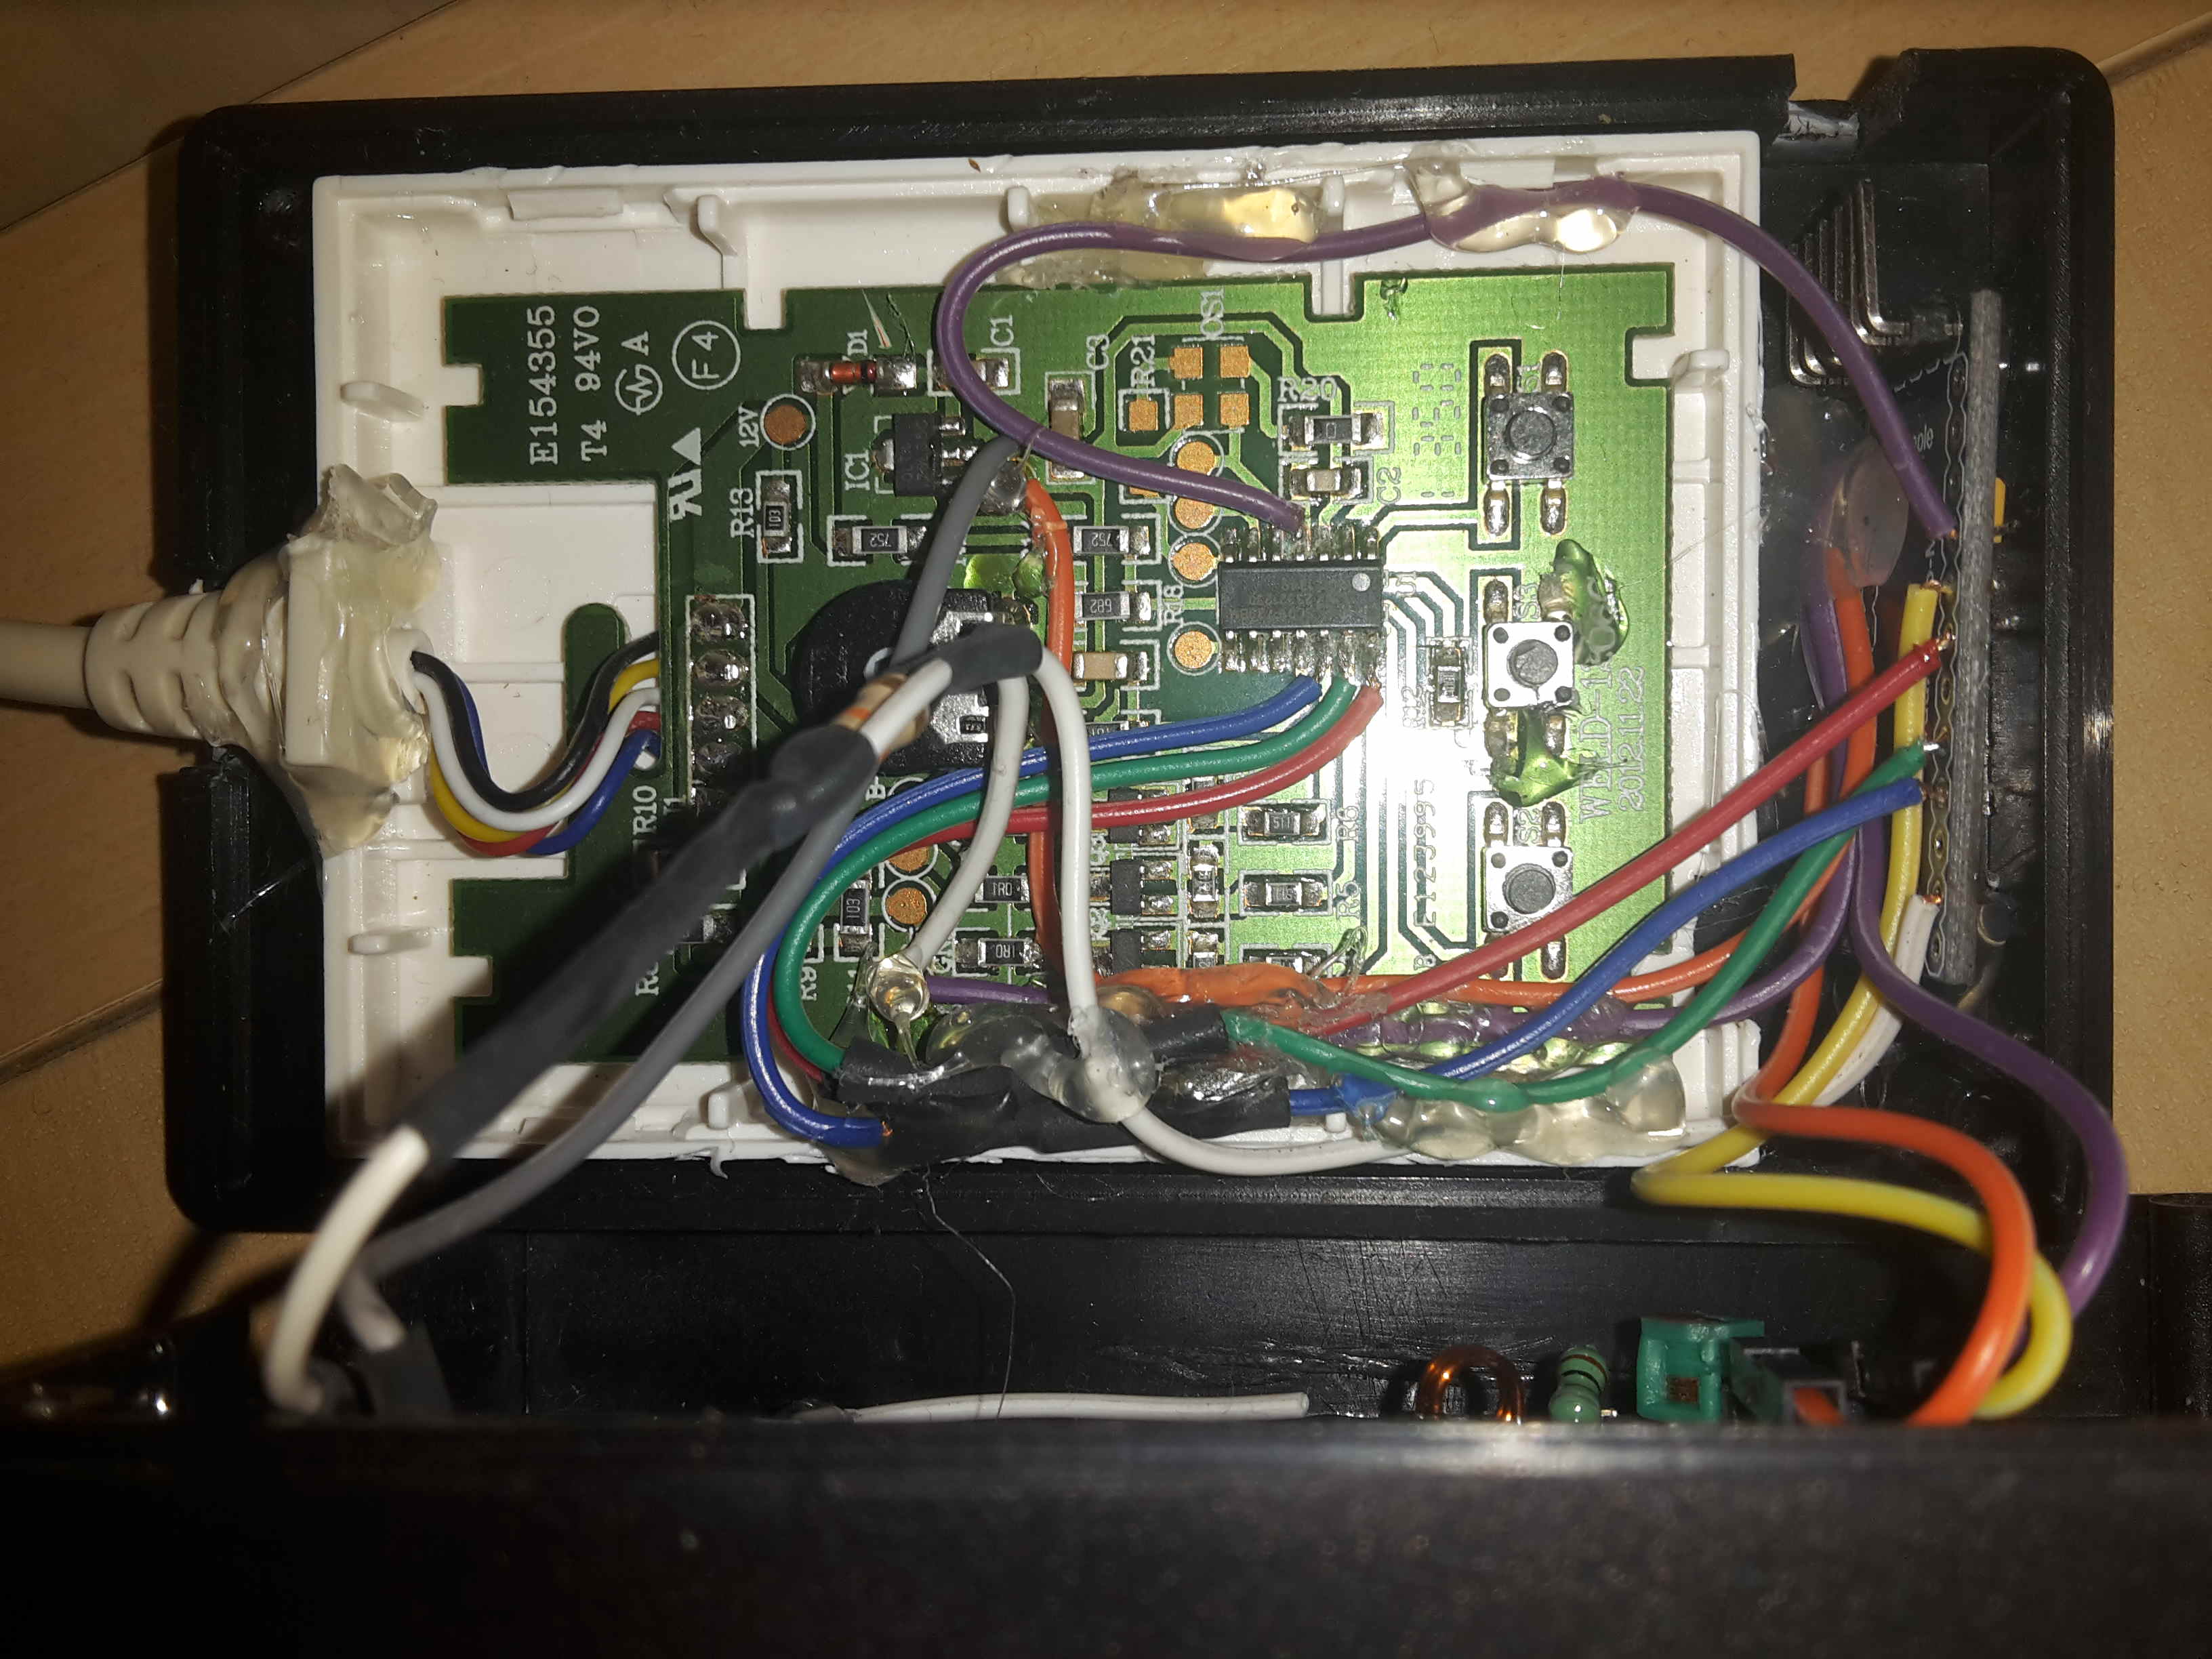
Although my poor electronic skills it was not to hard to identify the pins I needed to follow the instructions of the guide.
I wrote new code for the arduino so it would better fit my needs and crossed my fingers. It was partly working, but acted strange sometimes (I could not turn it off an on as expected, for example).
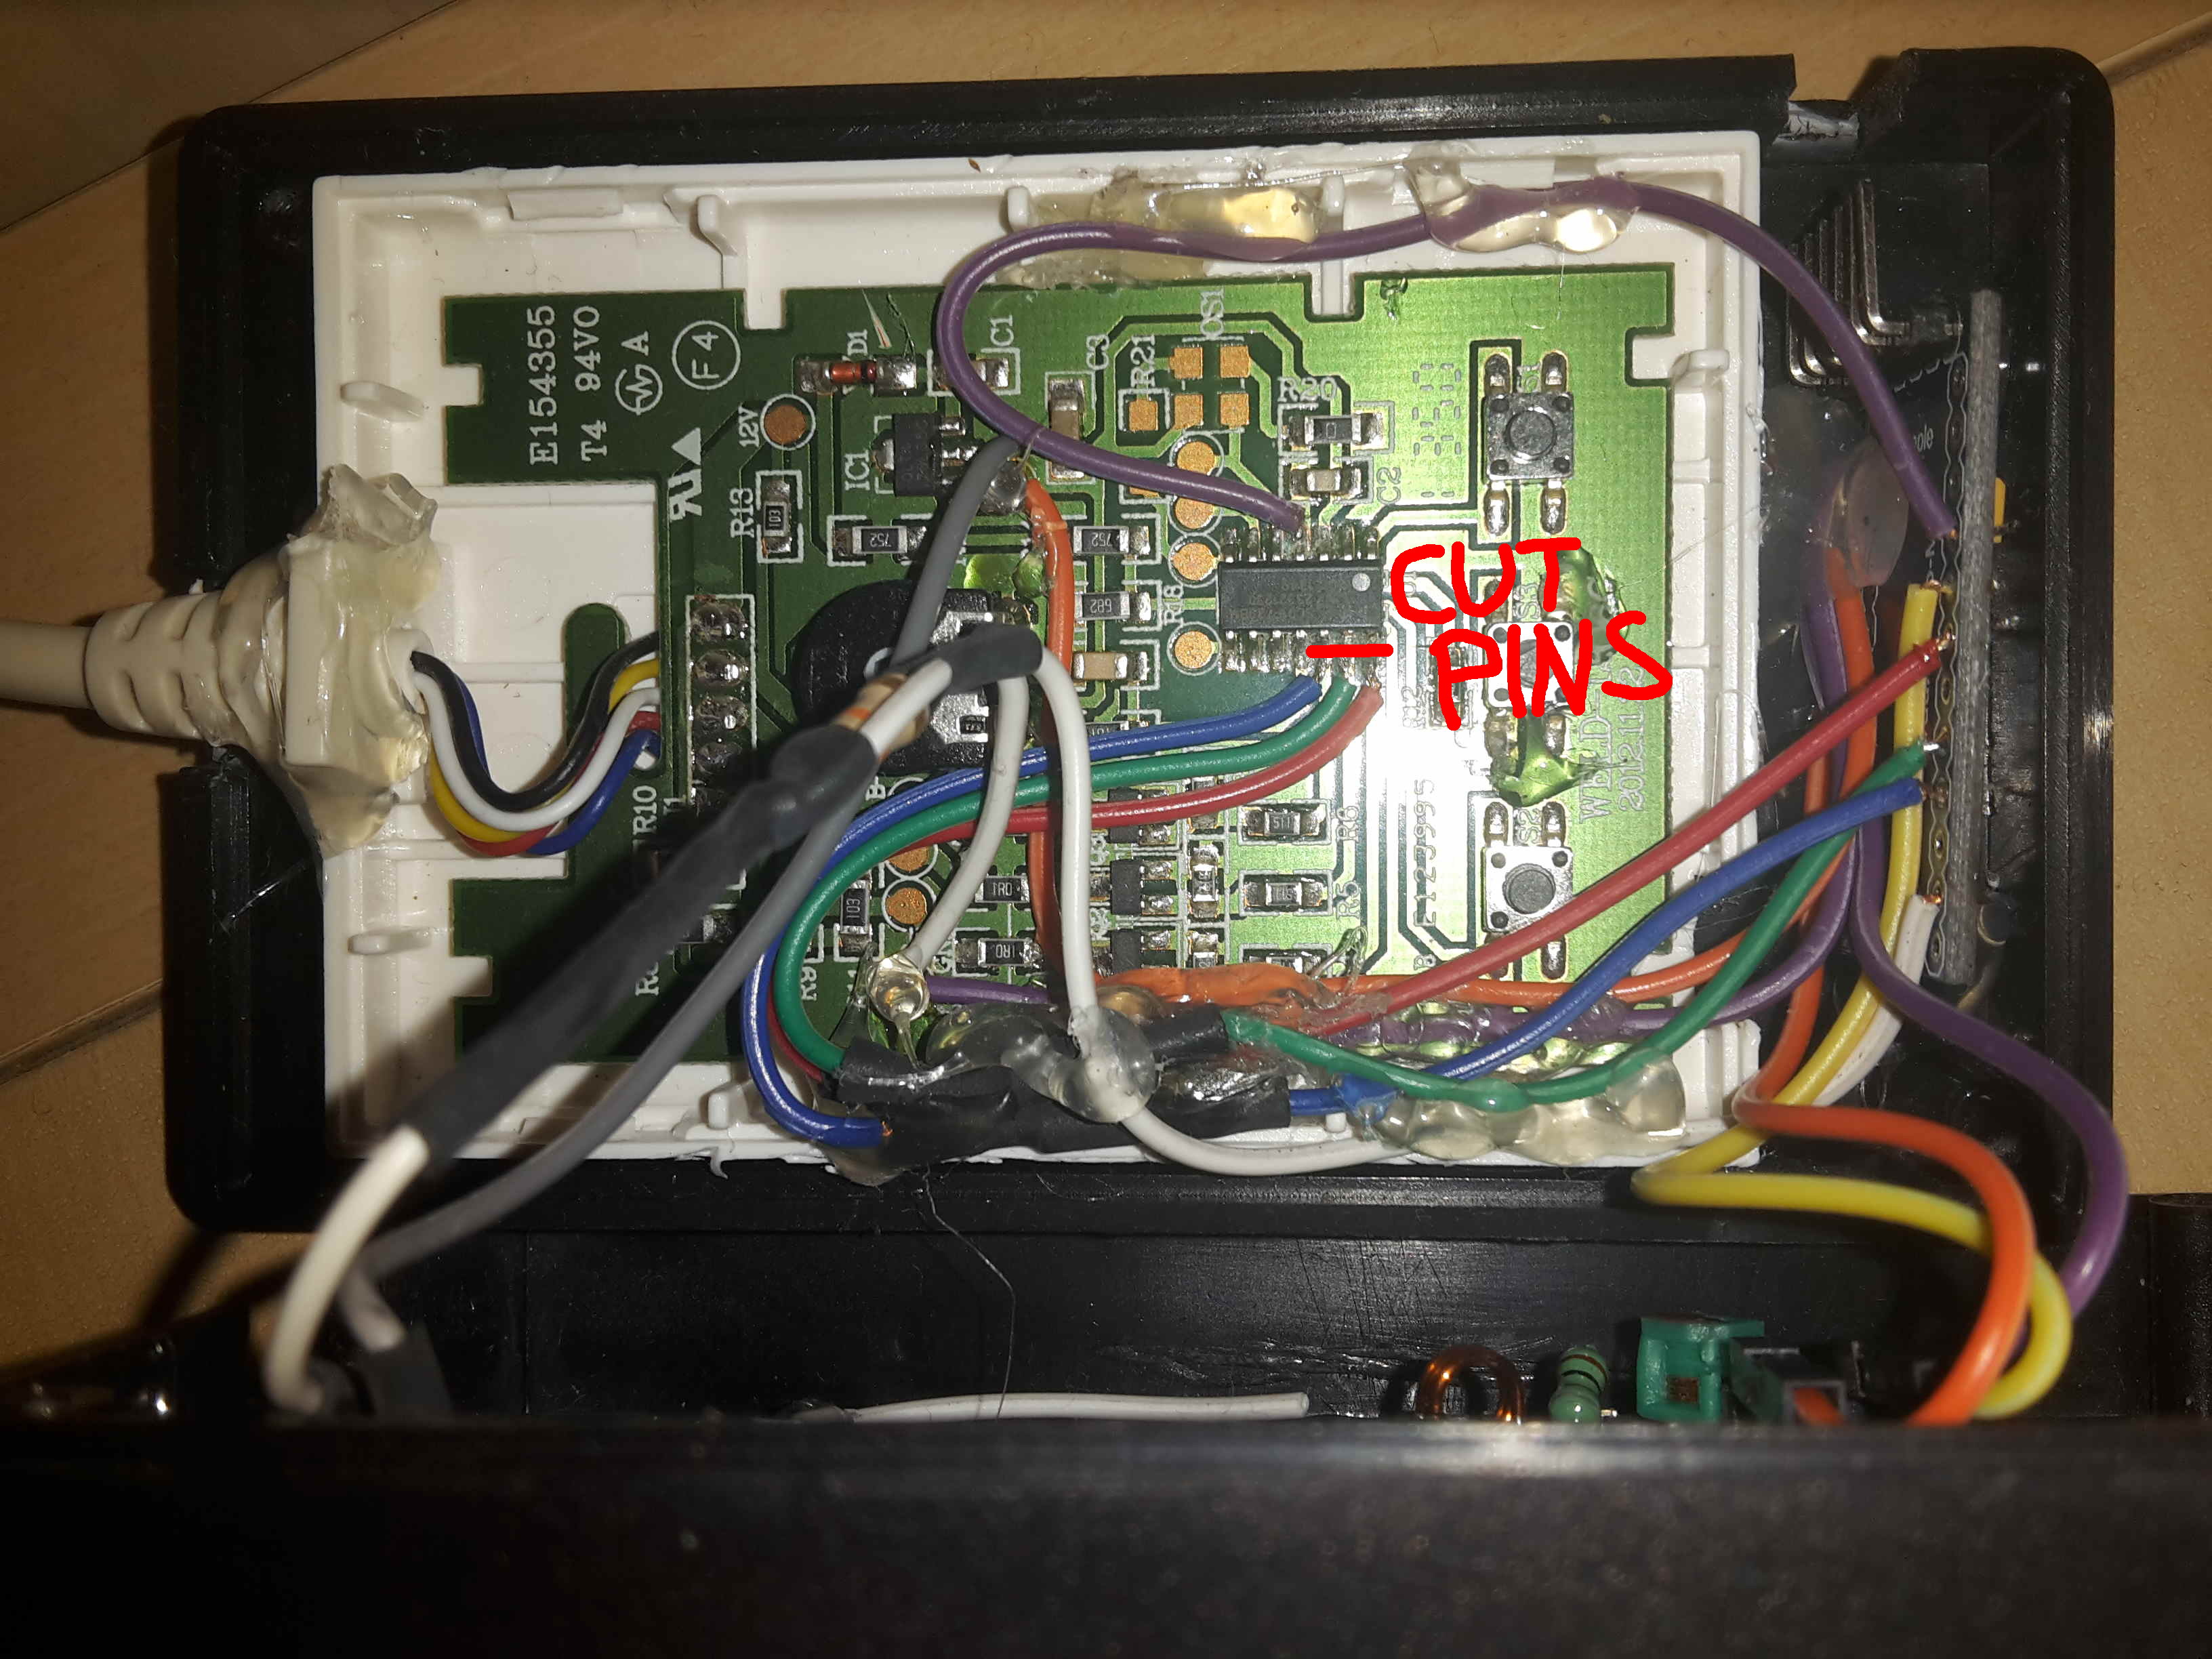
In the end I decided to cut the ICs output pins and spare the manual control wheel (it could easily be reattached using the arduino to translate the input). Working !
parts
The Parts I used:
- Arduino pro mini clone (~7€)
- Some jumper wires
- universal housing
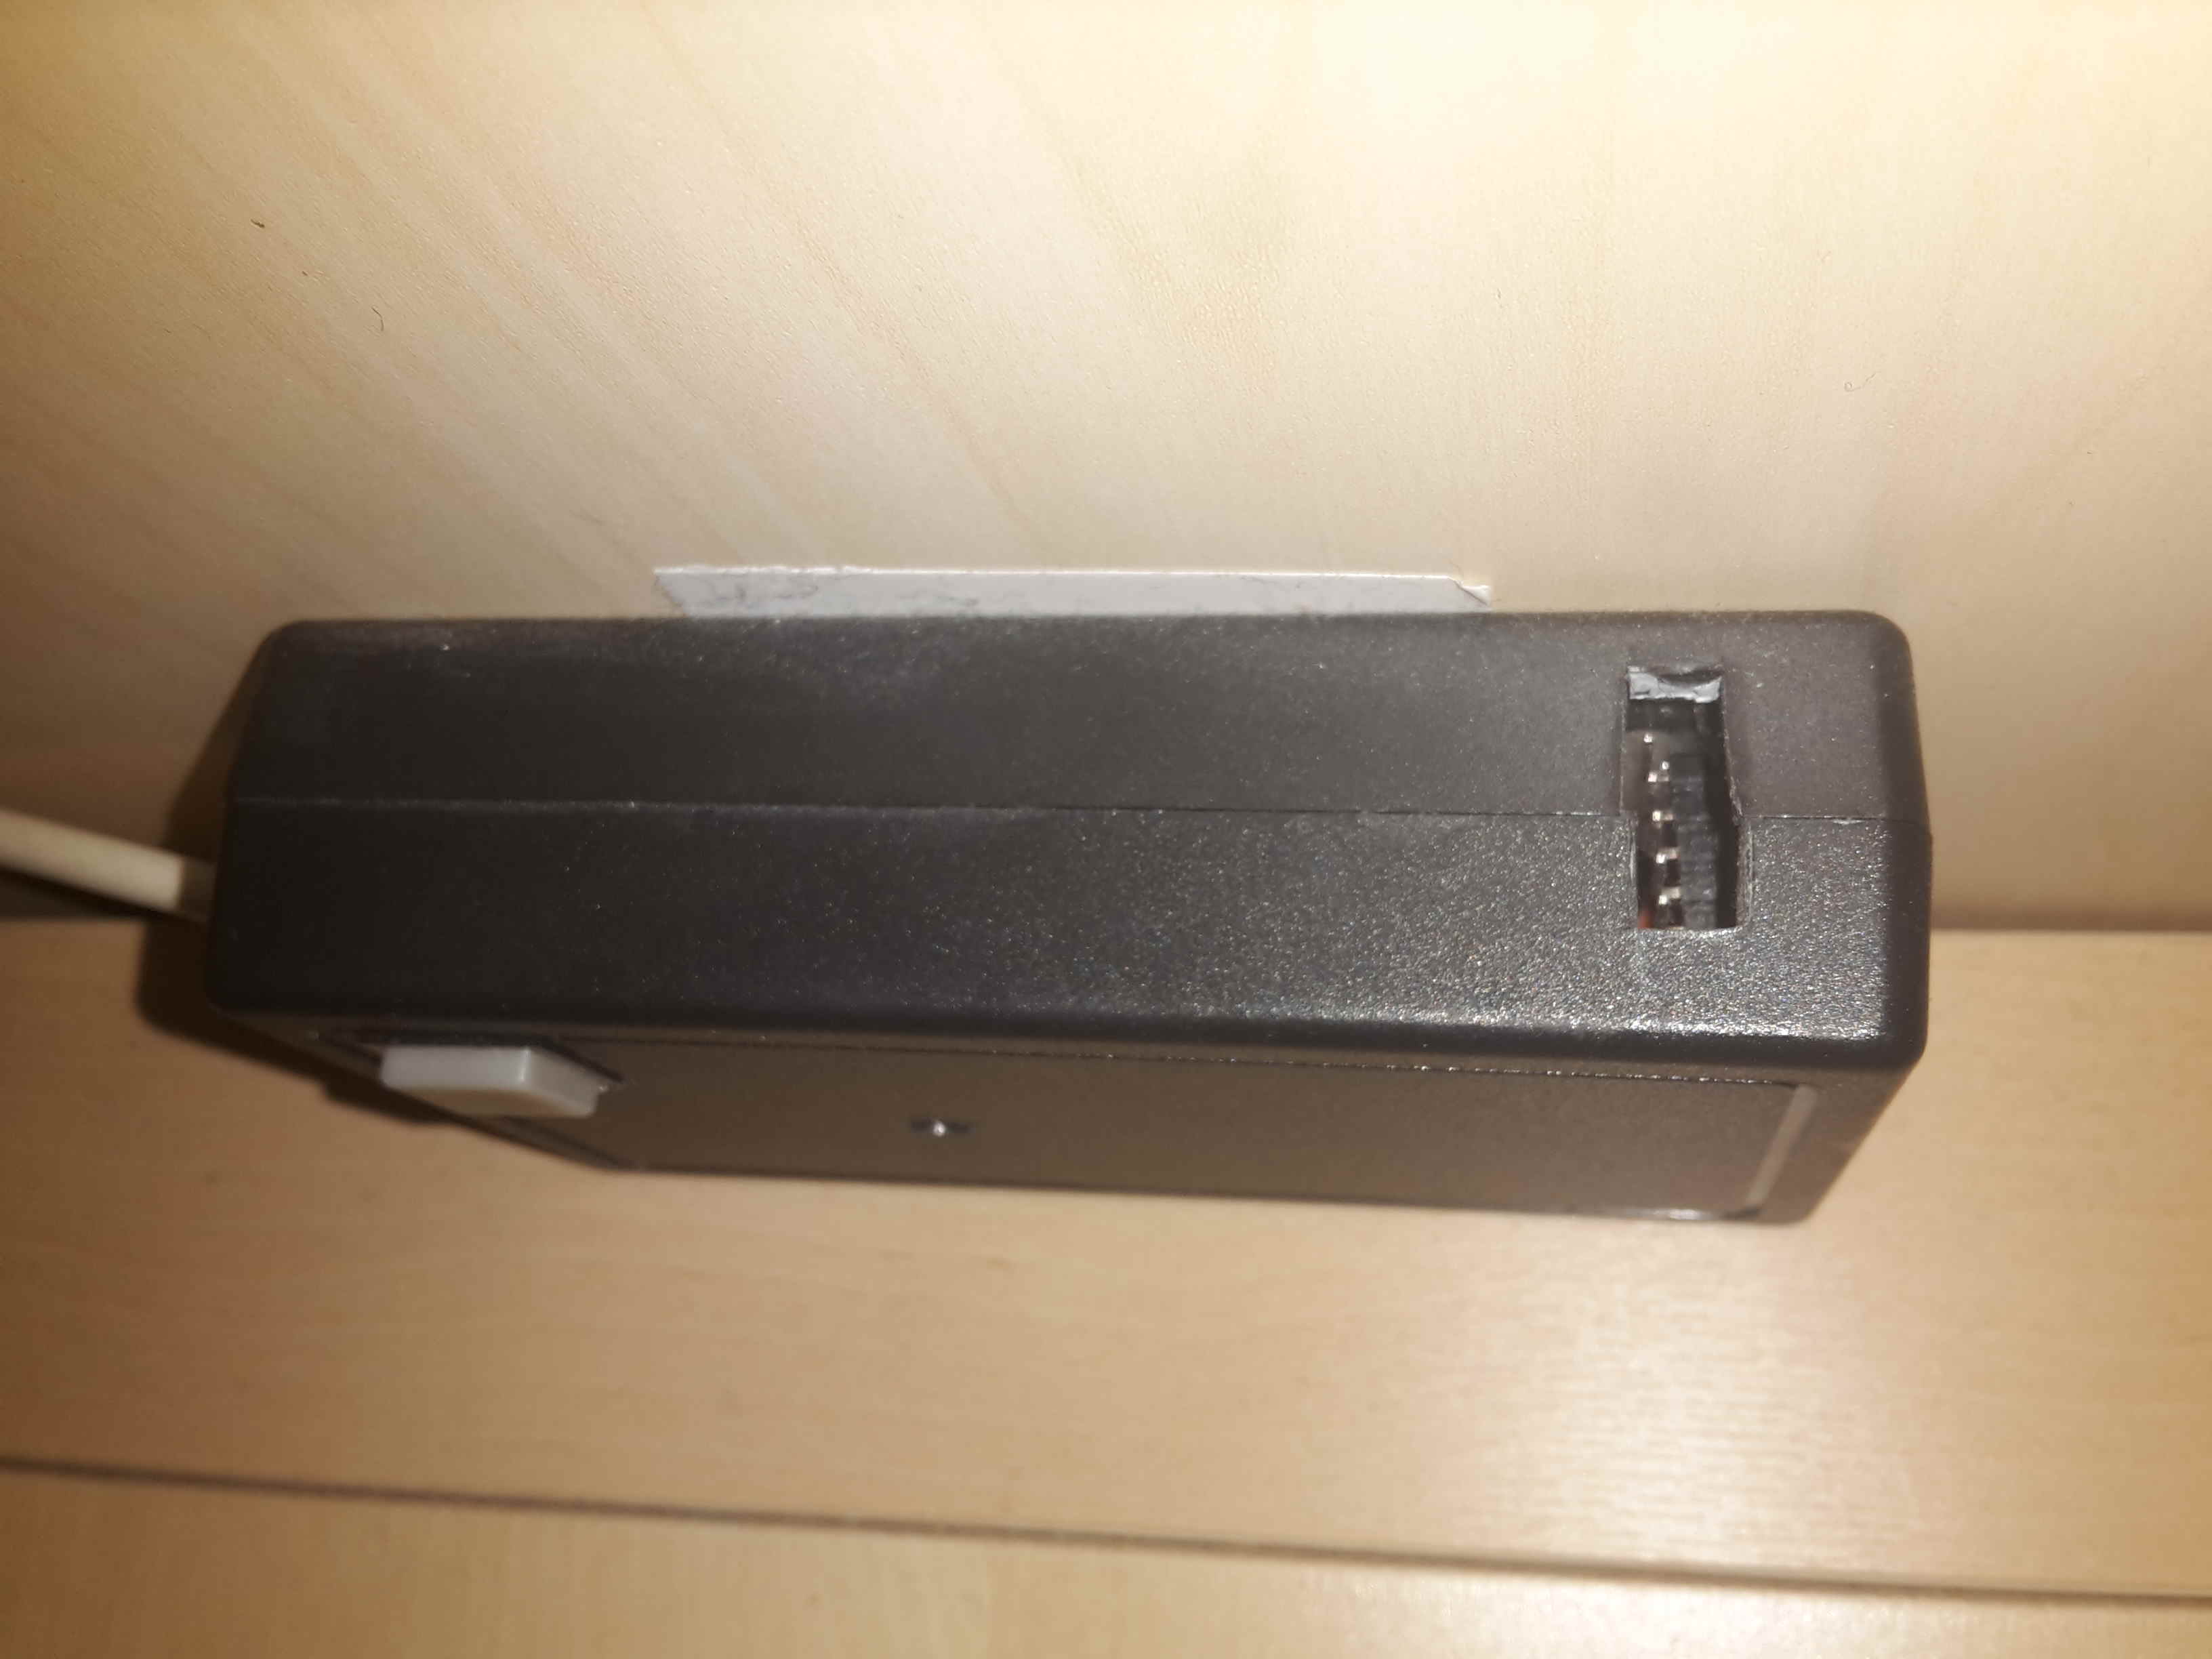
- tactile button (on/off switch)
- pullup resistor for button
- “tons” of hot glue
In the end, the main difference between both projects is the lack of manual control as well as the button controlled by the arduino (the original buttons are not useable anymore, as the controllers output pins were cut.
Both projects “simply” replace or retrofit the onboard controller by an arduino.
the code
The code is pretty simple. For a first implementation I decided to simply pass the color value to set, with an 1-Byte long device address as prefix (so a message will be 4-Byte long).
This library is used to receive messages.